Learn how to storyboard a video with this practical guide. Get actionable tips, tool comparisons, and expert techniques to bring your vision to life.
Dan Benyamin
Oct 29, 2025
In This Article
Subscribe to our newsletter
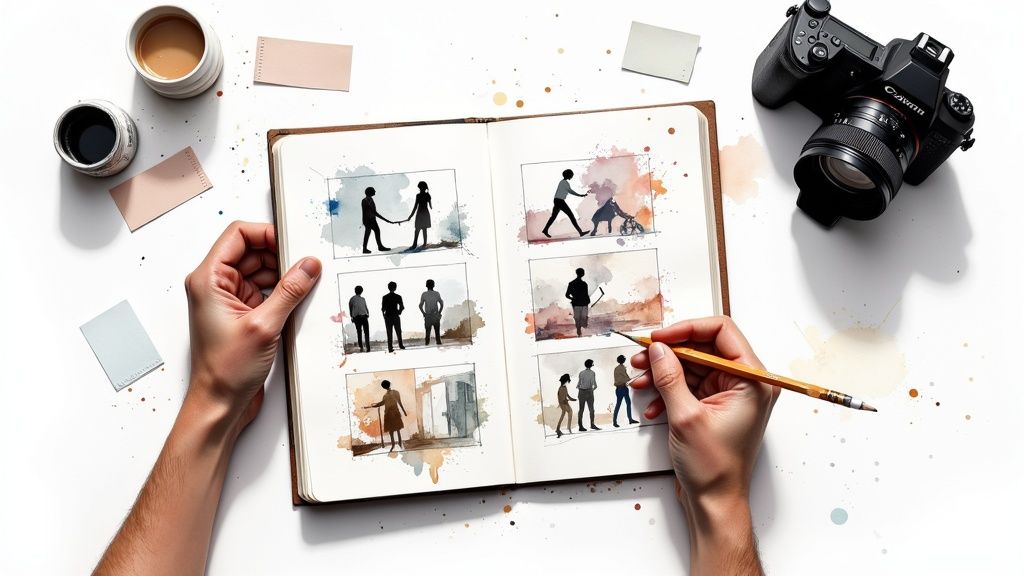
Learning how to storyboard a video is really about one thing: turning your script into a visual game plan before you even think about filming. It’s the bridge between the words on a page and the action on screen.
You sketch out key scenes, map out camera angles, and note specific actions. It’s how you get all those brilliant ideas out of your head and into a format your entire team can understand and execute. This process isn't just a preliminary step; it's the very blueprint that guides your entire video production.
Why Storyboarding Is Your Video's Blueprint
Could you imagine building a house without an architectural plan? You might have some great ideas for the kitchen or the master bedroom, but without a guide, the whole project would be pure chaos. It would cost a fortune, and the final result would probably be a disaster.
A storyboard does the exact same thing for your video. It's the foundational document that prevents those expensive, time-sucking mistakes down the line.
By forcing you to translate abstract ideas from a script into a concrete visual guide, you make all the tough creative decisions before the cameras are rolling. This is your chance to solve problems on paper—not on a high-stakes film set with a full crew on the clock.
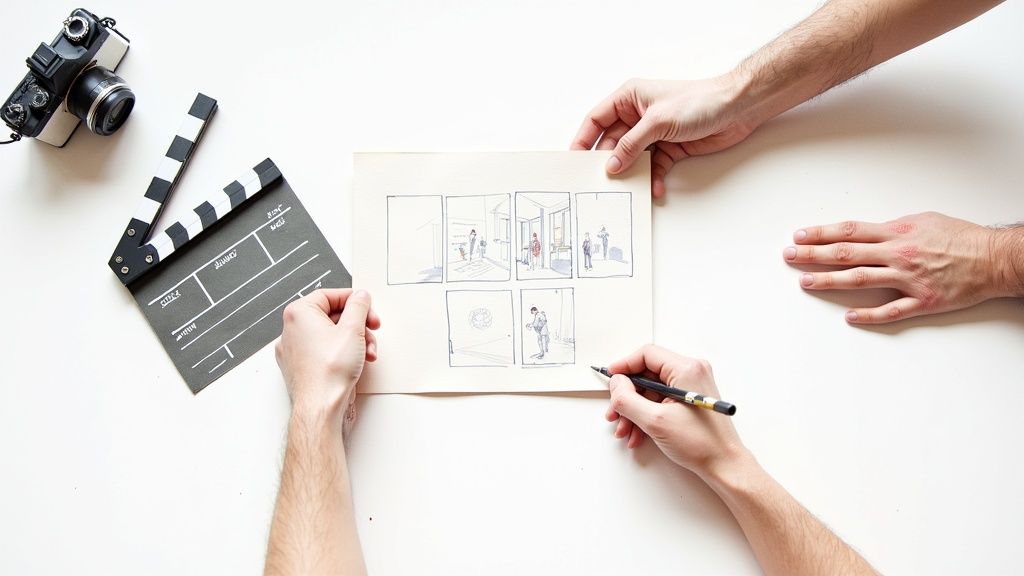
Align Your Team and Vision
More than anything, a storyboard is a communication tool. It’s the single best way to ensure everyone, from the director to the editor, is on the exact same page. When the plan is laid out frame-by-frame, there’s no room for guessing games or misinterpretation.
This shared understanding pays off in a huge way:
Creative Alignment: Everyone sees the intended shot composition, the pacing, and the emotional tone you're going for.
Logistical Planning: Your team can get a jump on preparing for specific camera movements, props, and location needs.
Efficient Editing: The editor isn't starting from scratch; they already have a clear roadmap for assembling the final cut.
A great storyboard doesn't just outline what the audience sees. It choreographs the entire production process, saving immeasurable time, money, and creative energy.
The Growing Importance of Visual Planning
The value of this simple pre-production step is being noticed. The global market for storyboarding software was valued at $1.97 billion in 2024 and is on track to hit $2.15 billion in 2025.
But whether you’re using sophisticated digital tools or just a pencil and paper, the goal is always the same: create a clear, actionable plan that turns your vision into a successful video.
Lay the Groundwork Before You Draw a Single Frame
Let's be honest: a great storyboard has very little to do with your drawing skills. It's all about the prep work. If you jump straight into sketching, you’re basically flying blind. You might end up with something that looks cool, but it probably won’t tell the story you need it to.
The real magic happens before you even think about sketching.
First things first, you have to nail down your core message. What's the one thing—the single most important idea—you want your audience to remember? Are you explaining a new feature? Trying to make them feel a certain way? Pushing them to take action? Get crystal clear on this, because it’s the compass for every single visual choice from here on out.
Just as crucial is knowing your audience. A storyboard for a highly technical B2B explainer video is going to have a completely different vibe than one for a fun, snappy social media ad. Think about who you're talking to. What do they expect? What are their pain points? This insight will dictate the entire tone, pacing, and visual style of your shots.
Turn Your Script Into a Visual Blueprint
Once you have your message and audience sorted, your final script is your new best friend. But don't just see it as a wall of text. It’s a sequence of moments waiting to be brought to life.
Read through it and pull out the key beats. These are your turning points, your big reveals, and the lines of dialogue that just have to land.
Mark them up. Highlight them. For each one, ask yourself: what’s the one image that captures this moment perfectly?
Think of your script as a list of ingredients. The storyboard is the recipe that shows you how to combine them into a coherent and compelling meal. It dictates the order, the timing, and the presentation of each element.
This exercise isn't just about picking out shots; it’s about finding the rhythm of your story. A quick flurry of panels can create a sense of fast-paced action. In contrast, a single, detailed panel can let an emotional moment really breathe.
By mapping out these key scenes first, you’re creating a solid outline. When it’s finally time to sketch, you're not just doodling and hoping for the best—you’re executing a clear, pre-approved plan. It makes the entire process faster, smarter, and way more effective.
Bringing Your Script to Life, Panel by Panel
Alright, you've done the heavy lifting—you've nailed down your message, figured out your audience, and have a solid script. Now for the fun part: turning those words on a page into a visual story, one frame at a time.
This is where the magic really starts to happen.
And don't panic if you can't draw. Seriously. The goal here is communication, not perfection. I've seen incredible storyboards made with little more than stick figures, basic shapes, and some arrows. What matters is that you're clearly showing the action, where people are in the frame, and what the camera is doing.
Think of storyboarding as one of the most powerful visual storytelling techniques in your toolkit. Each little square you draw isn't just a sketch; it's a command for the camera operator and a cue for your talent.
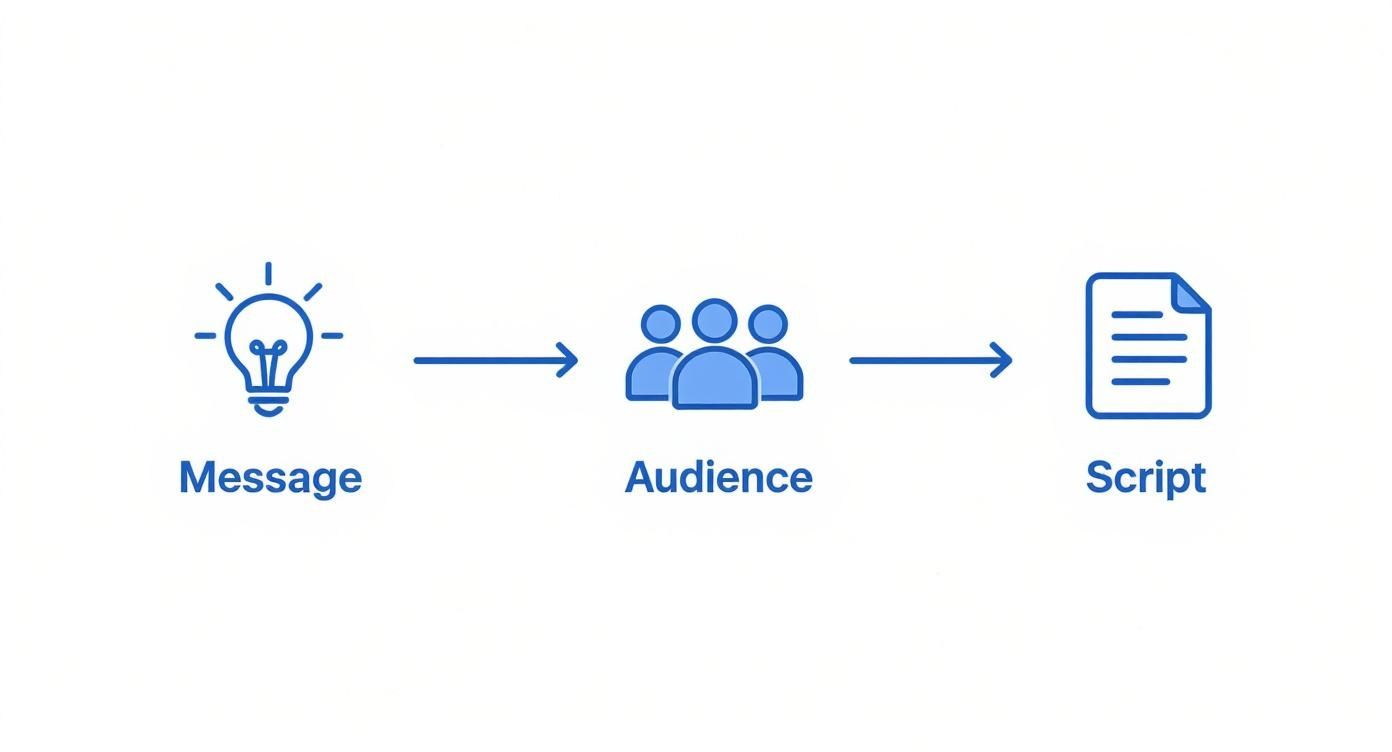
The infographic below really drives home how all that prep work feeds directly into this stage.
As you can see, a great storyboard doesn’t just appear out of nowhere. It’s built on a rock-solid strategic foundation, which ensures every single visual choice has a purpose.
What Goes in Each Panel?
To make your storyboard genuinely useful on set, each panel needs more than a doodle. Treat every square like a mini-blueprint for a single shot. Your sketch should always be paired with a few key notes to give it context.
Here’s what I always make sure to include for maximum clarity:
Shot Type: Is it a wide shot establishing the scene? A medium shot for conversation? Or a tight close-up to capture an emotion? Labeling this is a must.
Camera Movement: Simple arrows can show a pan across a room, a tilt up to a character's face, or a zoom-in on a critical detail. This is how you start to add life and energy.
Key Dialogue or Action: You don't need the whole script, just the line of dialogue or the specific action that defines that moment.
Sound Cues: Is there a door slamming off-screen? Is this where the dramatic music swells? Note down any essential sound effects (SFX) or music cues.
Getting this level of detail down on paper eliminates guesswork later. It gets the entire crew—from the director to the editor—on the same page, all working from a single, unified vision.
The best storyboards are visual problem-solvers. They force you to decide how you'll show the story, not just what the story is.
Even with all the cool digital tools available today, that human touch is what makes it work. In fact, a study found that 42.3% of filmmakers in the U.S. use storyboards primarily for story development, not just logistics. It’s that blend of storytelling instinct and clear communication that makes a storyboard an irreplaceable part of the creative process.
Choosing the Right Storyboarding Tools
When it comes to picking a storyboarding tool, there's no single "best" option. The real question is: what’s best for you? Your personal workflow, how comfortable you are with drawing, and the sheer complexity of your project are all going to point you toward the right choice.
Believe it or not, some of cinema’s most iconic films were mapped out with nothing more than a pencil and a stack of paper. That classic method still holds up for a reason.
The Old-School Approach: Pen, Paper, and Whiteboards
There’s a certain magic to sketching things out by hand. Whether it's on paper, a sticky note, or a massive whiteboard, the process is immediate and tactile. You can get ideas from your brain to the page instantly without wrestling with software menus or login screens.
This hands-on method is perfect for those initial, messy brainstorming sessions or for creators who simply think better with a pen in hand. It’s fast, direct, and has absolutely zero learning curve.
But, of course, the traditional route isn't without its headaches. Making edits can get messy fast—think lots of erasing and redrawing. And if you need to share your work with a remote team? You're stuck scanning, uploading, and emailing files, which can really drag down the collaborative momentum.
Going Digital With Storyboard Software
This is where digital storyboarding tools come in to save the day. They offer a level of flexibility that pen and paper just can't touch. Software like StudioBinder or Boords lets you make revisions on the fly—you can drag and drop panels, duplicate shots with a click, and add detailed notes without ever having to start from scratch.
Going digital unlocks some major advantages:
Effortless Collaboration: Team members can jump into the file and leave comments directly on specific panels in real-time. No more confusing email chains.
Ready-Made Assets: Many platforms come with libraries of pre-made characters, props, and camera angle guides, which is a lifesaver if you're not a natural artist.
Seamless Integration: Digital storyboards can often link directly to your script and shot lists, keeping your entire pre-production workflow connected and organized.
To help you weigh your options, let’s break down how these two approaches stack up side-by-side.
Storyboard Tool Comparison: Traditional vs. Digital
Feature
Traditional Storyboarding
Digital Storyboarding
Setup Cost
Very low (pen, paper)
Varies (free to subscription-based)
Speed
Instant for initial ideas
Faster for revisions and duplication
Collaboration
Difficult for remote teams
Built-in real-time collaboration
Editing
Messy and requires redrawing
Clean, non-destructive drag-and-drop
Asset Use
Requires drawing everything
Often includes pre-made asset libraries
Sharing
Manual (scan, email)
Instant sharing via links or exports
Learning Curve
None
Varies depending on the software
Ultimately, whether you stick with a trusty Moleskine or dive into a feature-packed app, the goal is the same: find a process that feels intuitive and doesn't get in the way of your storytelling.
The right tool removes friction from your creative process. Whether it's the simplicity of a notebook or the power of a cloud-based app, choose the option that lets you focus on the story, not the software.
If you’re leaning toward software, be sure to prioritize features that actually solve problems for you. For an even deeper dive, a comprehensive video production software comparison can help you find tools that go beyond basic storyboarding into full-blown pre-visualization.
Taking Your Storyboards from Static to Dynamic
Okay, so you’ve gotten the hang of the basic storyboard process. Now it's time to level up and start turning those static panels into something that truly feels like a video. The real magic happens when you make your storyboard feel like it’s already in motion, giving your team an authentic preview of the final product's energy and rhythm.
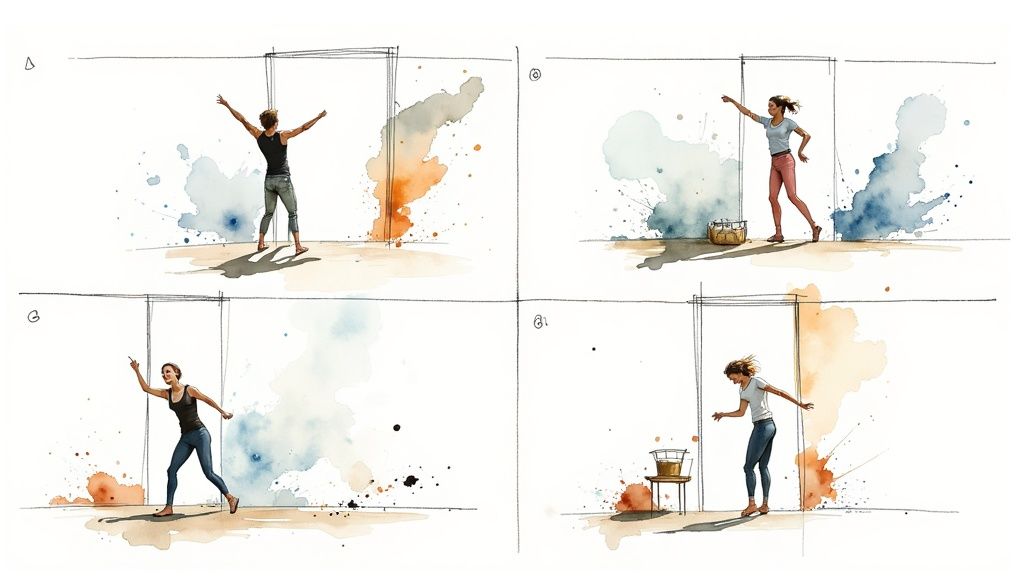
This is where simple annotations become your best friend. Don't just draw a character standing there; show us what the camera is doing. A few well-placed arrows can completely change the game:
A solid arrow pointing right shows a character moving across the frame. Simple, but effective.
An arrow expanding from the center is a clear signal for a zoom-out.
A curved arrow can represent a camera pan or a tilt, guiding the viewer's eye.
These little details are what breathe life into your panels. They transform a flat drawing into a concrete plan for cinematic action.
More Than Just Pictures: Notes for Sound and Effects
A great storyboard tells the whole story, not just the visual part. Your annotations need to go beyond camera moves and include all the audio and visual cues that create the mood. This is how you layer in the emotional texture of your video long before the first take.
Think about what the audience will hear and feel at every moment. Start adding specific notes for things like:
Sound Design: Is there a key sound effect (SFX) like a car horn, a ticking clock, or a door creaking? Write it down.
Music Cues: Where does that upbeat track kick in? When does it fade out for a more emotional moment?
Visual Effects (VFX): Jot down where any text overlays, motion graphics, or other special effects will pop up.
A storyboard isn’t just a visual script; it's the comprehensive blueprint for your entire production. When you include notes on sound and VFX, you ensure every department is on the same page from day one. This proactive step helps prevent those costly misunderstandings and last-minute fixes in post-production.
This level of detail is absolutely essential, especially in booming fields like animation. The global animation industry is projected to hit an incredible $400 billion by 2025. With budgets and stakes that high, meticulous planning isn't just a good idea—it's non-negotiable. You can learn more about how the animation industry leverages planning to keep costs in check while pushing creative boundaries.
A Few Common Storyboarding Questions
Even with the best plan, you’re bound to have questions as you get into the rhythm of storyboarding. Let's walk through some of the most common ones that come up.
The biggest thing that holds people back is often the fear of not being an artist. "What if I can't draw?" is a question I hear all the time. The short answer? It doesn’t matter one bit.
Your storyboard is a communication tool, not a piece of art. Stick figures, basic shapes, and clear labels get the job done far better than a beautiful drawing that doesn’t communicate the action. The entire point is to show composition, action, and camera movement—not to hang it in a gallery.
How Detailed Should My Storyboard Be?
The level of detail you need really just depends on the project. For a simple YouTube video you're shooting yourself, a few rough sketches are probably all you need to keep your thoughts straight.
But for a larger production with a whole crew? That’s a different story. Your storyboard becomes the blueprint everyone works from.
Your Director of Photography will want to see specific shot types (like wide, medium, or close-up) and any camera movements.
The Production Designer needs to see key props or set pieces that are critical for a scene.
The Editor can get a sense of pacing and the flow between shots from your panel descriptions.
Think of your storyboard as a flexible document. Start with the basics—where characters are and what they're doing. Then, only layer in more detail if it’s needed to make things crystal clear for the team. This keeps you moving quickly.
How Many Panels Do I Need?
Forget trying to hit a magic number of panels. Your focus should be on capturing the key visual moments that push the story forward. A rapid-fire action sequence will naturally need more panels to show all the quick cuts and movements.
On the flip side, a slow, emotional conversation might only require one or two carefully composed panels to set the entire mood.
A good rule of thumb is to create a new panel anytime there's a significant change in camera angle, a character's action, or the location. This makes sure you've mapped out all the essential building blocks of your video without getting bogged down.
Ready to stop sketching and start creating? Aeon uses AI to instantly turn your text, audio, or existing clips into high-quality, branded videos at scale. Discover a faster way to produce video content.
Share the article
Contributor
Dan Benyamin
Dan served as VP of Data Products at Condé Nast, following their acquisition of CitizenNet, a social media marketing platform he founded.


.jpg)